Top 16 Real Estate Photography Editing Techniques (2023 Guide)

As a real estate photographer, knowing how to edit your photos so they’re attractive to potential homebuyers is crucial. There’s more to it than just increasing the exposure and boosting the contrast, which is why we’re sharing some of our go-to tips for how to edit real estate photos.
Table of Contents
- Editing Techniques: How to Edit Real Estate Photos
- 1. Basic Brightness
- 2. Color Correction
- 3. Hue and Saturation
- 4. Color Cast Removal
- 5. Line Straightening
- 6. Noise Reduction
- 7. Image Composite
- 8. Object Removal
- 9. Object Replacement
- 10. Perspective Correction
- 11. Lens Correction
- 12. Reflection Removal
- 13. Photo Manipulation
- 14. Sky Replacement
- 15. HDR
- 16. Virtual Staging
- Automating Real Estate Photo Editing Through Batch Processing
- Frequently Asked Questions
- The Bottom Line
Editing Techniques: How to Edit Real Estate Photos
Editing property photos encompasses diverse techniques, including adjusting basic brightness, colors, hue and saturation, and lines.
In real estate photography, it also helps to learn object removal or replacement, perspective correction, lens correction, noise reduction, and reflection removal. Advanced photo editing methods include photo manipulation, composites, HDR, and virtual staging.
|
Technique |
Benefits |
Quick Instructions |
|
Basic brightness |
Adjust shadows to improve visibility and clarity |
Adjust the Exposure slider in the Basic panel |
|
Color correction |
Ensures accurate and realistic colors |
Use the White Balance and Color Grading tools |
|
Hue and saturation |
Enhances vibrancy and visual appeal |
Choose yellow or green under the HSL/Color panel for precise adjustments |
|
Color cast removal |
Restores natural color tones |
Use the White Balance tool and adjust the tint and temperature |
|
Line straightening |
Creates a polished and professional look |
Utilize the Free Transform tool for precise adjustments |
|
Noise reduction |
Produces cleaner and sharper images |
Adjust the Noise Reduction sliders in the Detail panel |
|
Composites |
Creates visually dynamic and appealing scenes |
Use the 'Photo Merge' option in the Library module |
|
Object removal |
Enhances the overall cleanliness of the image by removing unwanted objects |
Start cloning the Spot Removal tool for targeted removal |
|
Object replacement |
Offers creative control and customization |
Combine the Spot Removal tool with new elements |
|
Perspective correction |
Ensures accurate representation of space in most lenses |
Utilize the Transform tools in the Develop module |
|
Lens correction |
Improves overall image quality and clarity |
Use the Color Aberration tool under the Lens Corrections panel for adjustments |
|
Reflection removal |
Enhances the visual focus on the property |
Use the Clone/Heal tool to remove unwanted reflections |
|
Photo manipulation |
Adds artistic and customized elements |
Employ various tools for cropping, blending, and masking |
|
Sky replacement |
Improves the overall atmospheric appearance |
Use the 'Select Sky' and 'Replace Sky' options in the Develop module |
|
High Dynamic Range |
Creates a greater dynamic range of luminosity |
Access the 'HDR' option in the Photo menu |
|
Virtual staging |
Showcases the property's potential |
Use the 'Import' feature to add virtual staging elements |
Turn to professional real estate photo editing and add the magic back into your shots! So, how exactly do you stand out in the real estate photography industry? Well, we've listed standard photo editing techniques to get an advantage over your competition.
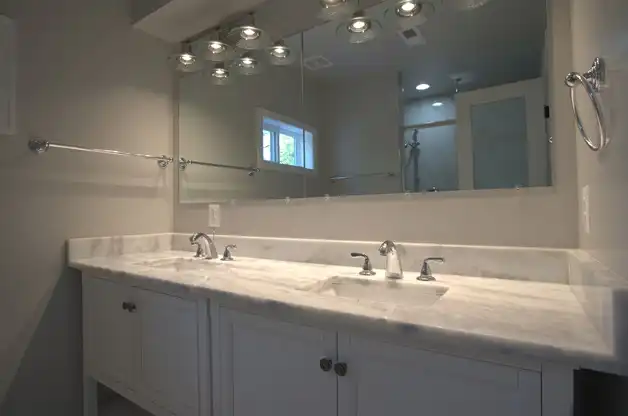
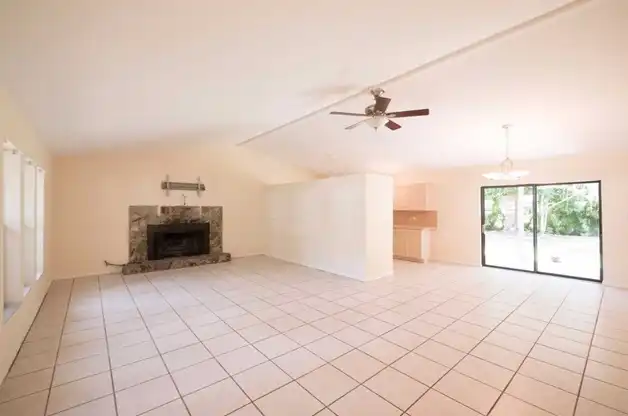
1. Basic Brightness
You can bring down the hot spots and find a safe middle ground to counter uneven lighting. Work on the Highlights slider when facing shadows and uneven lighting issues. This is the perfect solution when using a wide-angle lens to shoot interior or exterior pictures.


- - Go to Lightroom and drag the Shadows slider to the right to open up shadows moderately, finding a safe middle ground
- - If harsh highlights are present, drag the Highlights slider to the left to reduce hot spots
- - For Whites and Blacks adjustment, hold the Option (Mac) or Alt key (PC) and move the respective slider right until white or black specs appear on the image
2. Color Correction
As professional real estate photo editors, we mainly use the Eyedropper and Curves tools to correct the colors of multiple images.

For color correction using the eyedropper tool:
- - Click on a neutral source area to correct colors across the entire image
- - Adjust Saturation, Hue, and Tint as needed for a realistic result
For color correction and optimization, use the Curves tool's diagonal line:
- - Access Curves in the Image menu under Adjustments
- - Click Auto in the dialog box
- - Use the diagonal line to brighten (pull up) or darken (pull down) the image
- - Experiment freely with the tool until you achieve the desired look, and click OK when satisfied
3. Hue and Saturation
The Hue and Saturation tool in Photoshop aids in color correction and can specifically enhance greens in exterior and landscape photos:
- - Access it in the Image menu under Adjustments
- - Click on Hue and Saturation
- - Choose Yellow in the dialog box and adjust hue, saturation, and lightness
- - Switch to Green and repeat the adjustments
- - Click OK when satisfied with the changes
4. Color Cast Removal
The kind of light in a scene and how it strikes various objects can affect the colors in a photograph. Let's take a few examples. When the skies are gray outside, a house's otherwise lively yellow wall can look dull. A beige-colored wall can look different if you have a dark window tint.
Fluorescent light can also create a cold, bluish effect on an image. Even the color settings on a camera can alter the natural colors of a home.
But you can bring back the property’s original colors through color cast removal. This editing technique will neutralize the effect and remove the unwanted tint that masks the actual colors.
5. Line Straightening
When photographing interiors and exteriors, it's common to encounter problems keeping vertical and horizontal lines straight. While you can be extra careful using a tripod and the correct camera settings, you can further straighten the lines using Photoshop.
- - Post-processing in Photoshop enables line alignment using the Free Transform tool
- - To straighten lines, select the entire image and drag the corner of the image opposite to the leaning direction
6. Noise Reduction
Noise (or grain) refers to the millions of hazy dots that affect the clarity of an image. This is due to factors such as low-light settings and errors in sensor size, exposure time, or pixel density. A professional real estate photo editor can reduce this noise through various editing procedures.

7. Image Composite
Many real estate photographers use the composite method, a creative technique combining bracketed images to form a cohesive picture. This is the best solution in real estate photography when you manually light property images using a handheld flash.
8. Object Removal
You can remove unwanted objects to achieve a cleaner look when post-processing. Examples include a kettle on a countertop or a car blocking a garden view. Use the Clone Stamp tool, choose a source area, and then clone or paint over the object to remove it.


9. Object Replacement
Many photographers want to enhance the appeal of exterior and interior photos. Object replacement is one of the best ways to do this. The perfect example is grass replacement or photo enhancement in a house with discolored grass.
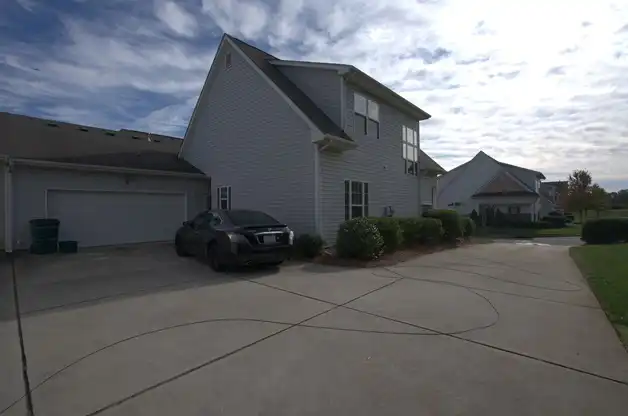
10. Perspective Correction
Architecture and real estate photography have straight horizontal and vertical lines that don't converge. An editing technique that is used to correct optical issues and distortion from a camera lens.


11. Lens Correction
Lens correction is a handy tool that corrects the optical issues found in most lenses. Go to the Lens Correction module, click Enable Profile Corrections, and choose Remove Color Aberration.
12. Reflection Removal
In professional real estate photo shoots with a crew present, reflections of photographers and handlers may appear in mirrors. You may alter the camera angle during the shoot to exclude undesired reflections or use a powerful tool from Photoshop, like the Clone Stamp tool, to eliminate them.
13. Photo Manipulation
Image manipulation can work wonders for you and create some magic and interest. A competent photo editor can add flames to the fireplace to make the image look warmer and golden. The same real estate photo editing professional can add vibrant green grass to cover that patch, making it look like a beautiful lawn.


14. Sky Replacement
The best colors come from sunny and bright days. On the other hand, overcast, gloomy, or stormy skies are disappointing to every real estate photographer. They make even the most attractive properties look dreary and dull.

Skilled photo editors can replace gray, overcast skies with sunny summer skies. With all the right image enhancements, the properties would appear like they were shot during a summer day. The client can even choose a pretty sunrise, sunset, or evening sky.
15. HDR
Real estate photographers commonly use the High Dynamic Range (HDR) technique to expand the luminosity range in their pictures. To create HDR images, capture bracketed shots of the subject with varying exposures and then merge them into one, revealing enhanced highlights and shadows.
16. Virtual Staging
Intensify the versatility and authenticity of property images by employing virtual staging techniques, making your listing more distinctive. My team of expert editors can incorporate virtual furniture, appliances, and decor elements commonly found in homes to transform vacant rooms into stylish, inviting spaces.
Automating Real Estate Photo Editing Through Batch Processing
We recommend utilizing Lightroom's batch edit feature for efficient editing of many photos with similar adjustments. While there are different techniques, this particular technique allows you to streamline the process, making minor edits on one photo and synchronizing those changes across the rest of the images.
Batch editing tools, such as those in real estate photo editing software, automate repetitive tasks on similar edits. This enhances the speed and efficiency of the editing workflow by applying the same adjustments to multiple photos simultaneously.

For example, you can use the image processor tool and select the File menu. Next, choose Folder in the dialog box and save it in the same location. Pick JPEG as the file type and click Resize to Fit to customize image dimensions.
Frequently Asked Questions
Can You Photoshop Real Estate Photos?
Interior and exterior photos can be edited using Photoshop, which is a versatile tool that facilitates a range of improvements. This includes modifying brightness, rectifying color discrepancies, eliminating imperfections, and enhancing the overall visual appeal to craft sophisticated and polished images.
How Do I Edit HDR in Real Estate?
For real estate HDR editing, utilize dedicated software such as Adobe Lightroom or Photomatix Pro. Merge multiple exposures to capture extensive details while fine-tuning harsh highlights and shadows to achieve a balanced and visually appealing outcome.
How Long Does It Take To Edit Real Estate Photos?
The duration of editing real estate photos depends on factors like the complexity of edits and the quantity of photos. Typically, professional editors may spend several hours to a day completing the editing process for a standard set of real estate images. Many photographers can save time using the batch edit feature on similar edits.
The Bottom Line
A properly edited photo will showcase the property in all its glory and beauty. Are you concerned that you might not have the time to edit your own photos? Photo And Video Edits is a team of digital photography experts who can transform your raw real estate images into stunning masterpieces that can boost sales. Get in touch with us today!
Relevant Quick Links:
- 9 Exterior Real Estate Photography Tips
- 8 Practical Tips for Growing Your Photography Business
- Real Estate Photo Editing
- Real Estate Image Editing
- Knowledge Base
